The Link Dashboard provides a number of filters and metrics, including Link Source Social Signals, that can be used to customize your link report.
Links are tracked weekly beginning on the day that they are added to Link Manager.
If a link status is not what you expect it to be, please refer to Link Status Validation for troubleshooting, and contact us if you need further assistance.
- SEO
- Rank Tracker
- Local SEO
- Mobile SEO
- Link Manager
- Landing Pages
- Social Signals
- On-Page Optimization
- Enterprise SEO Solutions
- Marketing
- Competition Analysis
- Insight Graph
- Keyword Research
- Graphs & Widgets
- Market Reach
- Marketing KPI
- Brand Visibility
- White Label SEO
- Marketing Dashboard
- Client Dashboard
- PDF Reports
- PDF Templates
- Other
- Email Notifications
- Portfolio Management
- Integrations
- Google Analytics
- Search Console
- Pay Per Click
- WeDevelop
- API
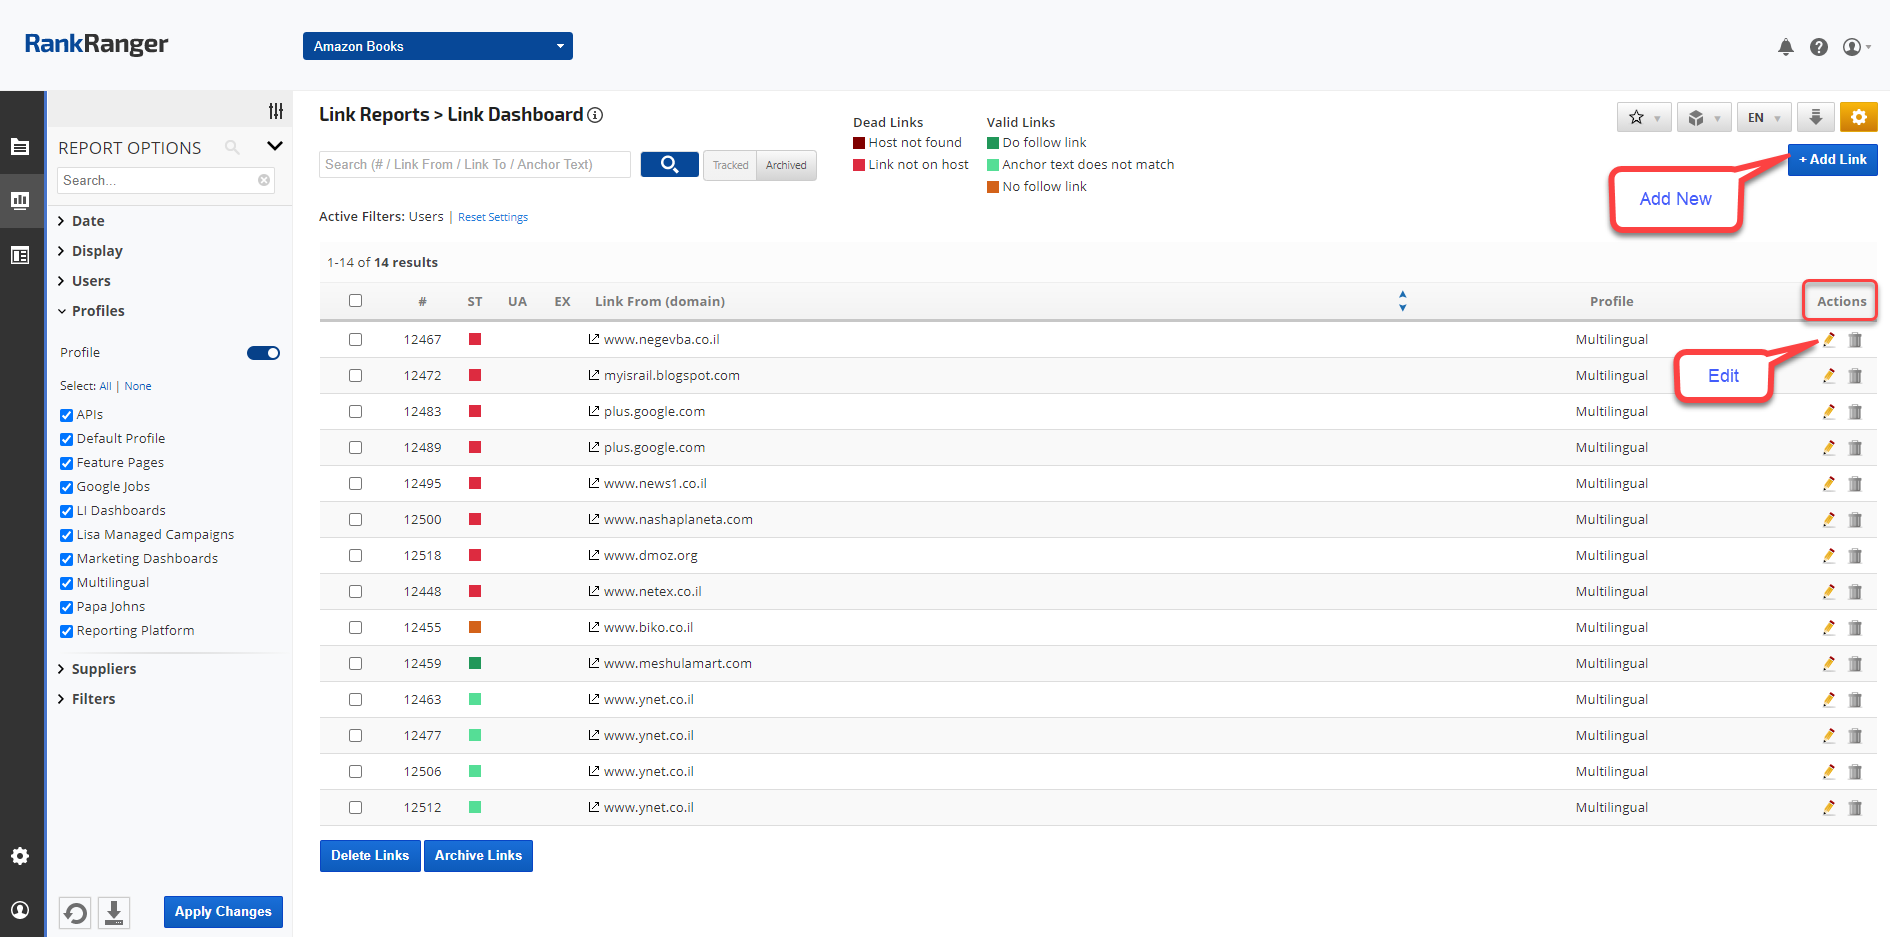
Link Dashboard
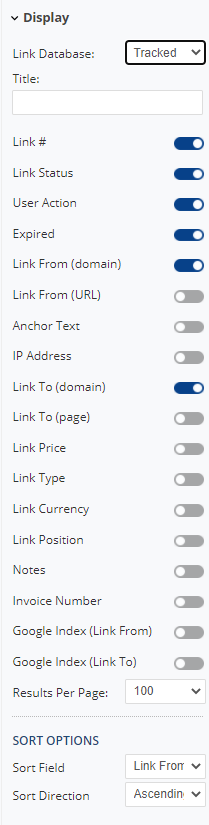
The Link Dashboard offers a full variety of managed link data to choose from, below are a few examples.
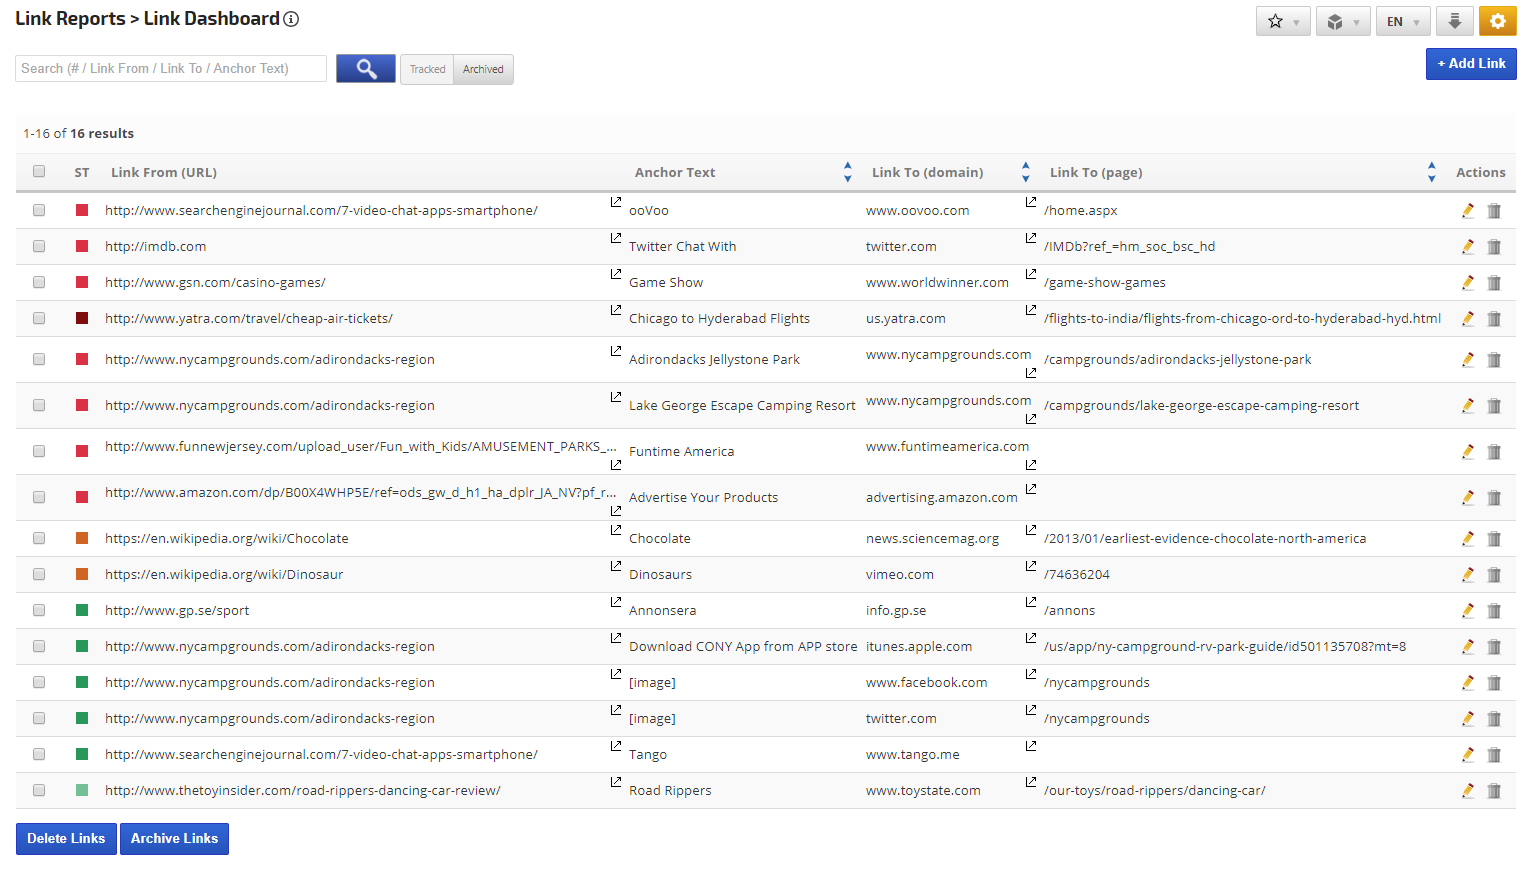
Link Dashboard Status Snapshot
In this quick view we've displayed the Status, Link From URL, Anchor Text, Link To domain and landing page.
Link Dashboard Status Snapshot
In this quick view we've displayed the Status, Link From URL, Anchor Text, Link To domain and landing page.
Anchor Text Does not Match
To create this view, we selected Status, Link From URL, Anchor Text, Link To domain and landing page, User (this is the Rank Ranger account user who is assigned to managed the link), and filtered the report for a Status of Valid Link: anchor text does not match.

To create this view, we selected Status, Link From URL, Anchor Text, Link To domain and landing page, User (this is the Rank Ranger account user who is assigned to managed the link), and filtered the report for a Status of Valid Link: anchor text does not match.
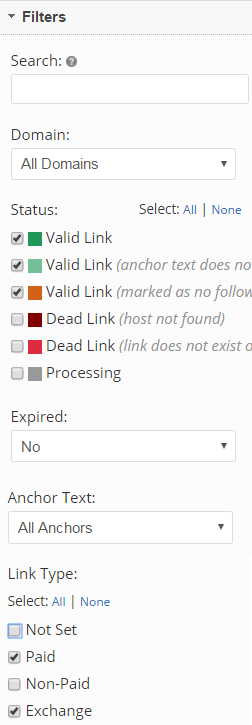
No Follow Links
To create a report of links that are marked as No Follow, select the columns you want to be displayed and the filter of Valid Link: marked as no follow.

To create a report of links that are marked as No Follow, select the columns you want to be displayed and the filter of Valid Link: marked as no follow.
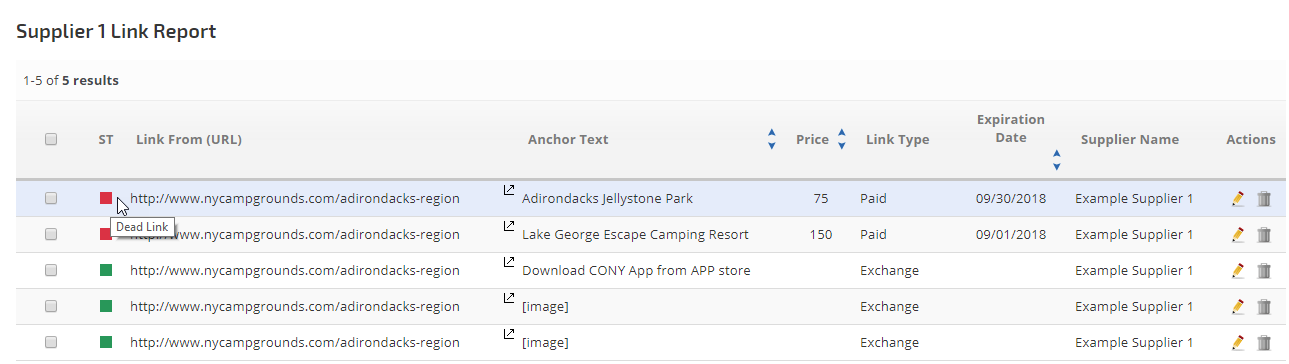
Supplier Link Report
In this view, we have selected one specific Supplier, but you can also select All suppliers and sort the report by Supplier Name. The report can be customized by selecting any metric from Report Options.
In this view, we have selected one specific Supplier, but you can also select All suppliers and sort the report by Supplier Name. The report can be customized by selecting any metric from Report Options.
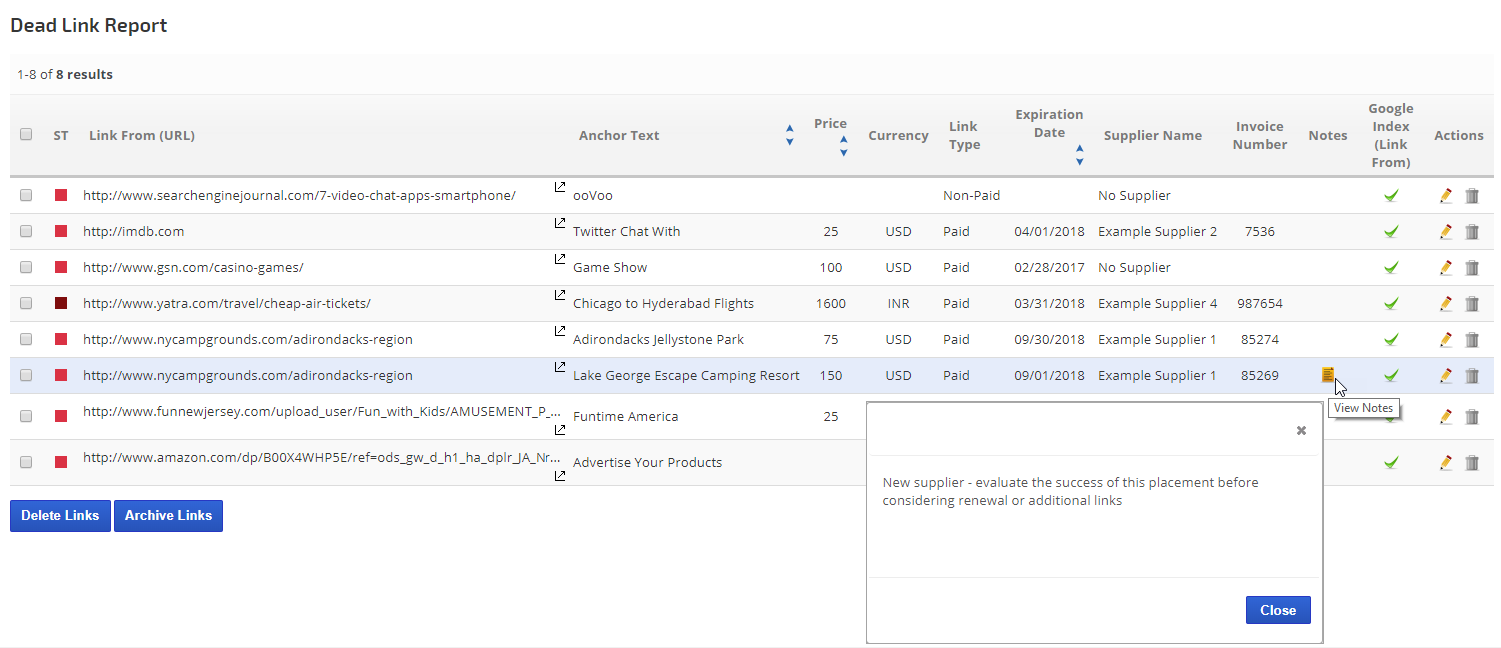
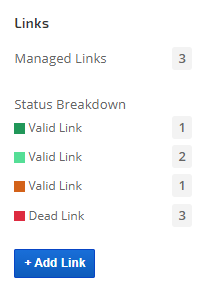
Dead Link Report
When paying for backlinks, it can be helpful to filter the Link Dashboard report for Dead Links. There are two options to select from:
When paying for backlinks, it can be helpful to filter the Link Dashboard report for Dead Links. There are two options to select from:
- Dead Link: host not found
- Dead Link: link does not exist on the host
The above report views are only a few examples of ways to create and analyze link building reports, refer to Report Options for the many filters and metrics that can be viewed in this link dashboard.
 |
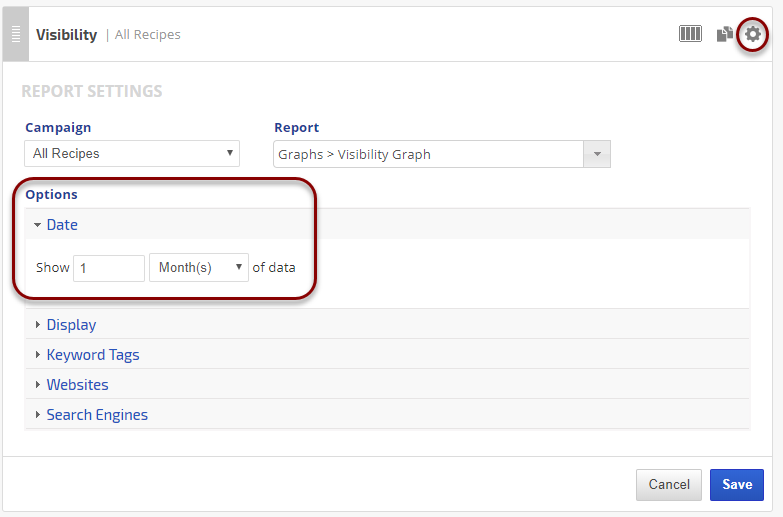
Date:
|
 |
Display Settings:
|
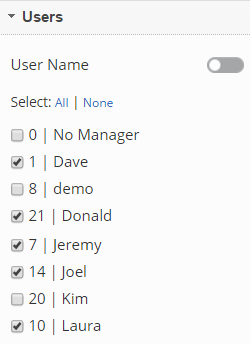 |
Users:
|
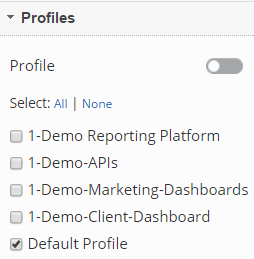 |
Profiles:
|
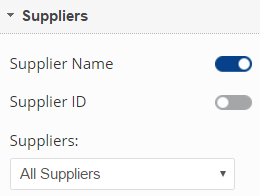 |
Suppliers:
|
 |
Filters:
|
Add to PDF Report
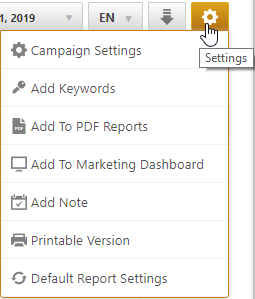
Conveniently add a report or graph with its current settings to a PDF report by hovering over the gold gear icon and selecting Add to PDF Reports

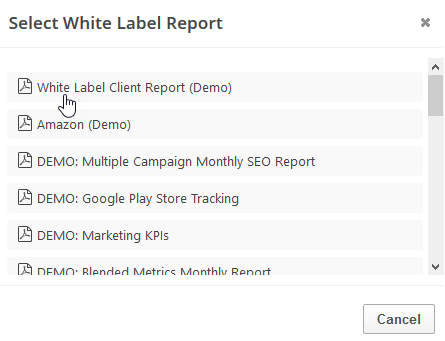
Select the PDF Report that you want the report or graph added to
Drag the new report or graph into the position you want it to display in the PDF and confirm that the Date settings do not conflict with the automated scheduling settings.
Add to Marketing Dashboard
Conveniently add a report or graph with its current settings to a marketing dashboard:
1. Hover over the gold gear icon and select Add to Marketing Dashboard
2. Select the Dashboard (campaign name)
3. Select the Dashboard Page that you want the report added to
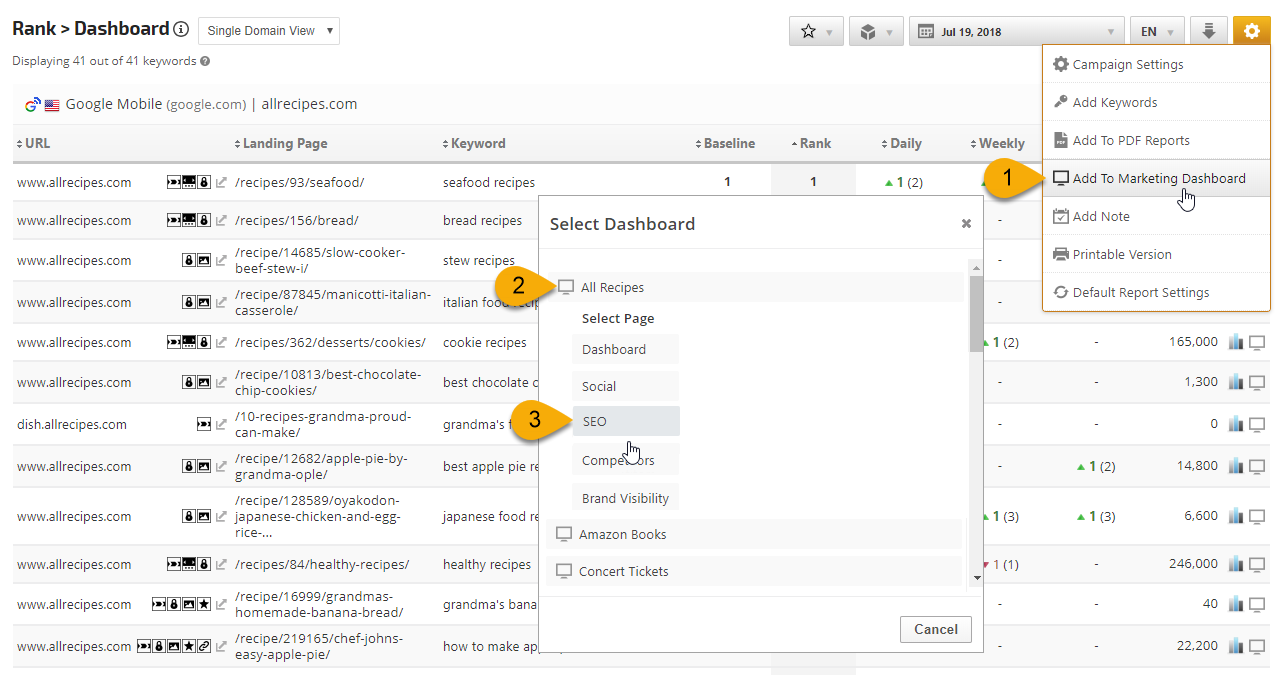
1. Hover over the gold gear icon and select Add to Marketing Dashboard
2. Select the Dashboard (campaign name)
3. Select the Dashboard Page that you want the report added to
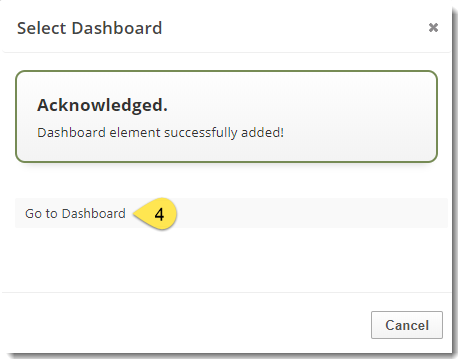
4. Click the "Go to Dashboard" link to further customize the report (e.g., drag it to a specific position on the page, change date settings, etc.)
Refer to the Report Options section for details regarding the display settings, filters and sort options available for this report.
The report date (or date range) is governed by the selected Dashboard date option: Date Selection or Fixed Periods, learn more...
- Daily reports default to the last day of the selected period
- Weekly and monthly reports default to 1 month of data
Set Campaign to track Links in Pro View
It is recommended to assign every link to an associated campaign in order to display a correct Link Manager Campaign based report in the Campaign Pro View
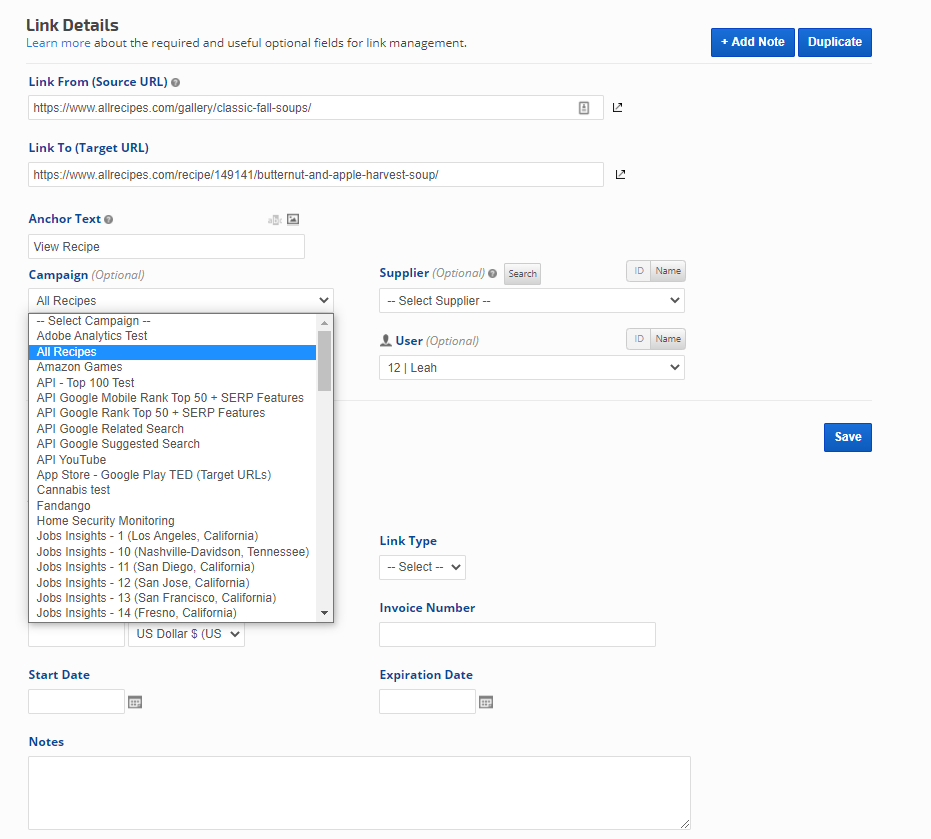
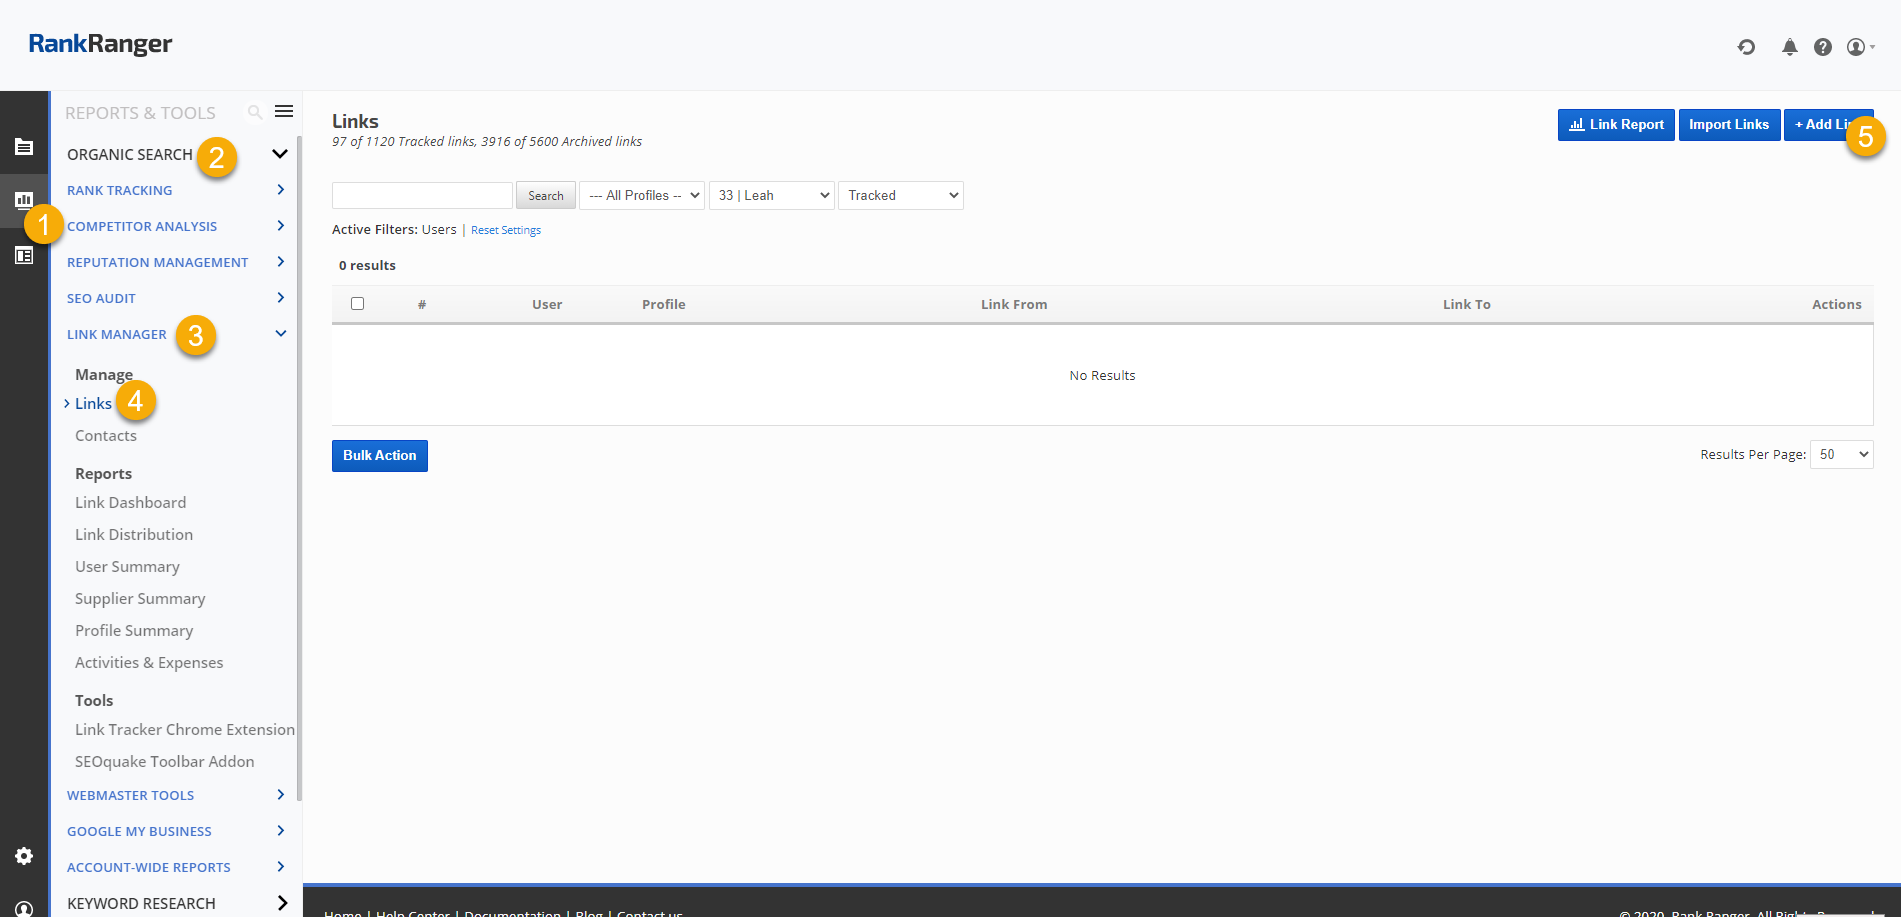
In Reports & Tools > Organic Search > Link Manager > Links open the Link Details screen for the link by clicking on the pencil under the Actions column. If not assigned initially when the link was added.
In the Campaign Pro View Click on the Display settings on the right top corner and scroll to Link. Switch toggle on to Enable the Link Manager Report and click Update
1. Assign Campaign to a link
In Reports & Tools > Organic Search > Link Manager > Links open the Link Details screen for the link by clicking on the pencil under the Actions column. If not assigned initially when the link was added.
2. Access the Link Manager Report in Campaign Pro View
In the Campaign Pro View Click on the Display settings on the right top corner and scroll to Link. Switch toggle on to Enable the Link Manager Report and click Update
Profiles for Rank & Backlink Reporting
Profiles can be used to link a rank tracking campaign to a tracked backlink, or group of links, for presentation in PDF reports, Marketing Dashboards, or Client Dashboards. After creating a profile:
In the Campaign General Settings screen
In Reports & Tools > Organic Search > Link Manager > Links open the Link Details screen for the link by clicking on the pencil under the Actions column (or do this while creating the link by clicking +Add Link):
Updating link profiles can be accomplished quickly by filtering the links in Reports & Tools > Organic Search > Link Manager > Links, and then:
After adding profiles to links you can create default report settings for each campaign (this only needs to be done once). When you open the Link Dashboard report report:
After setting the default for each campaign, when you toggle between campaigns in the top right toolbar, only the links that you've connected to each campaign via a profile will display in the report. You can then add that report with those settings to a PDF Report or Marketing Dashboard by hovering over the gear icon in the report tool bar and selecting the option you want.
1. Set the Rank Tracking Campaign Profile
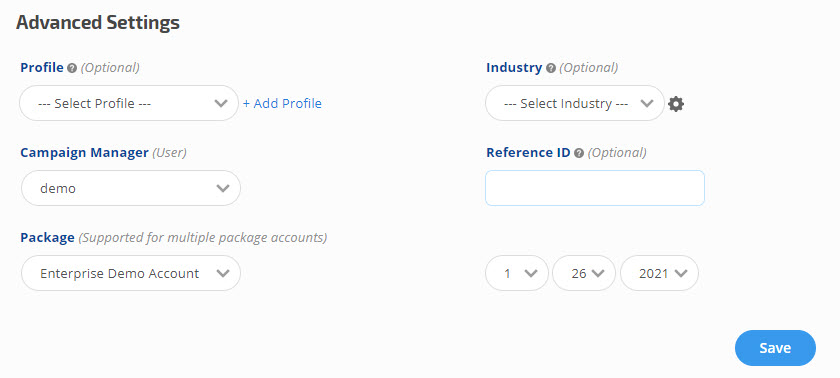
In the Campaign General Settings screen
- Click the Advanced Settings button
- Select the Profile from the list
- Click the Save button.
2. Set the Link Profile
In Reports & Tools > Organic Search > Link Manager > Links open the Link Details screen for the link by clicking on the pencil under the Actions column (or do this while creating the link by clicking +Add Link):
- Select the Profile from the list
- Click the Save button.
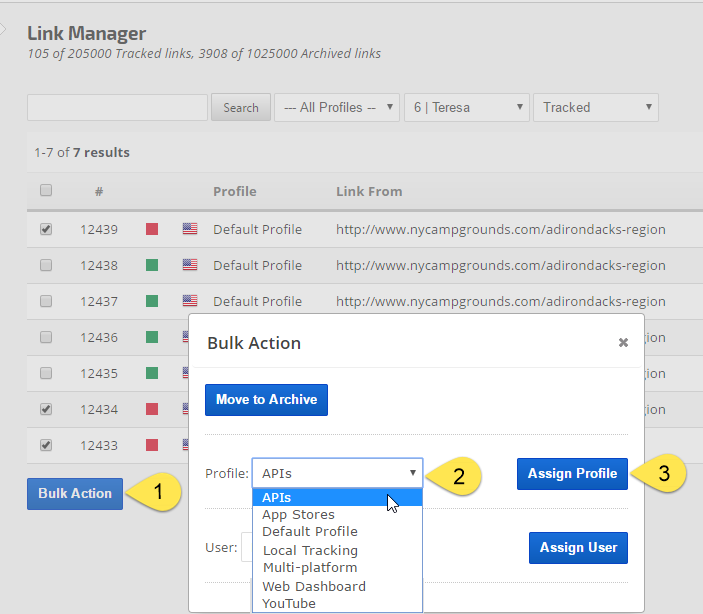
Bulk Update Link Profiles
Updating link profiles can be accomplished quickly by filtering the links in Reports & Tools > Organic Search > Link Manager > Links, and then:
- Select the links that need a profile update
- Click the Bulk Actions button
- Select the Profile
- Click the Assign Profile button
Define the Link Settings for a Rank Tracking Campaign
After adding profiles to links you can create default report settings for each campaign (this only needs to be done once). When you open the Link Dashboard report report:
- Select the rank tracking Campaign Name in the top right toolbar
- Expand Report Options and select the Profile for that campaign (and any other display settings you want)
- Click Apply Changes

- Expand Report Options and create Default Report Settings for that campaign by hovering over the Save icon and selecting Campaign.
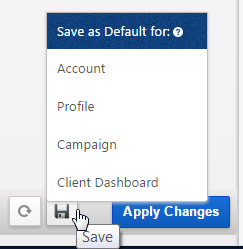
- You can then save the same settings as Client Dashboard default for that campaign.
After setting the default for each campaign, when you toggle between campaigns in the top right toolbar, only the links that you've connected to each campaign via a profile will display in the report. You can then add that report with those settings to a PDF Report or Marketing Dashboard by hovering over the gear icon in the report tool bar and selecting the option you want.