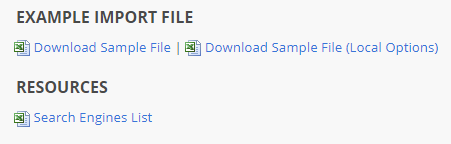
Download Import File and Search Engine List
Click the links to download:
- Select a Sample File to guide you through the type of data that can be imported
- Search Engines List for the se_id numbers you'll need to include in your import file
Complete the Import File

Enter your campaign settings in the fields as follows:
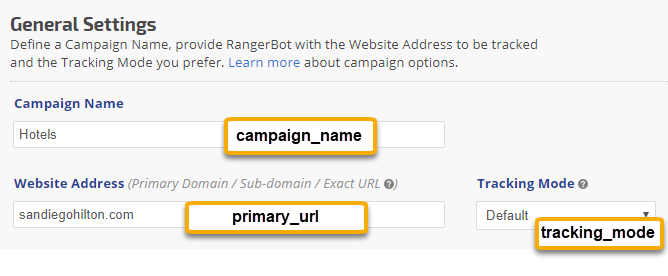
- campaign_name: each campaign must have a unique name. Enter letters or numbers. This is used throughout the platform for identifying the campaign
- primary_url: enter the domain URL that you want tracked. Format for this field depends upon your preferred tracking mode (see next field description)
- tracking_mode: tracking mode allows you to customize our rank tracking software by selecting aspects of how it tracks and counts the search engine results rank. Valid entries are:
- default for domains or sub-domains
Count rank results as is when checking your rankings in search engine results.
This is used when you want to monitor domains (e.g. yoursite.com/*), or sub-domains (e.g., *.yoursite.com/*).
- exact url for Sub-Directory or Specific Page
Monitoring Exact URL rankings means that you are interested in tracking the rank of a specific page or section within a website. When you choose this option Rank Ranger will match the results only if the exact URL matches the search engine result.
This is used when you want to monitor
sub directories (e.g. http://yoursite.com/subdirectory),
or specific landing pages (e.g., http://yoursite.com/yourpage.html).
Please note that you will only be able to insert a specific URL for your campaign if you have selected this option. If you select one of the alternative SERP options then any sub-directory and/or landing page entered will be stripped and only the domain name (e.g., yoursite.com) will be used for ranking.
- explicit domain count for domains or sub-domains
When checking your rankings this option will ignore duplicate domains in search engine results.
This is used when you want to monitor domains (e.g. yoursite.com/*), or sub-domains (e.g., *.yoursite.com/*).
Refer to this documentation for complete details and illustrations of results).
Campaign > General Settings screen
If after importing your file you need to make changes to the above settings, you'll find them in the Campaign > General Settings screen
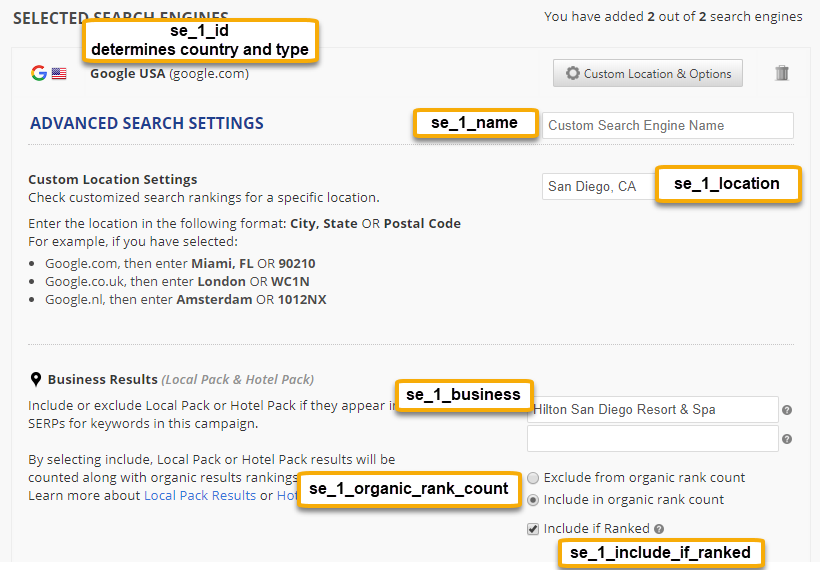
- se_1_id: search engine IDs are based on country and type, refer to the Search Engine List that you downloaded from the Campaign Import Tool screen and enter the corresponding se_id in this field.
- se_1_location: if you want keywords tracked based on search location, enter a location in this field (if not, leave it blank). Location must be formatted based on these examples:
- California (this narrows a USA search engine to track keywords only in the state of California)
- Miami, FL (this narrows a USA search engine tracking to the city of Miami, Florida)
- 90210 (using only a postal code causes a very narrow search from a location within that postal code area)
- London, UK (this targets a UK search to the city of London)
- WC1N (entering a UK postal code causes a very narrow search from a location within that postal code area)
- se_1_name: this is a custom identifier option that you may use to change the display name of a search engine such as Google Local Finder Loc 1 to a City name or other identifier when viewing certain reports (e.g. Search Engines report)
- se_1_business: enter the business name exactly as it displays in the Google My Business listing (refer to this documentation for examples and further instructions). This setting is used for tracking Local Pack or Hotel Pack if they appear in Google SERPs for campaign keywords. This is applicable to Google desktop, mobile, local finder and maps search engines only.
- se_1_organic_rank_count: the default is to exclude (blank field), enter include if you want the rank tracker to include local pack or hotel pack rankings (refer to the Business Results Match section of this documentation for examples and clarification).
- se_1_include_if_ranked: enter yes only if you want the domain or business name match counted if either display in the local pack or hotel pack. Important: The se_1_organic_rank_count must be set to include in order for include_if_ranked to be applied.
Campaign > Search Engine Settings screen
If after importing your campaigns you need to make changes to the above search engine settings, you'll find them in the Campaign > Search Engine Settings screen
The next section can be used if you want to add a 2nd search engine to a campaign. The instructions are the same as those for the se_1_ search engine settings above.
- se_2_id:
- se_2_location:
- se_2_name:
- se_2_business:
- se_2_organic_rank_count:
- se_2_include_if_ranked:
If your package supports additional search engines, then you may insert columns and label them with the number 3 or 4 using the same format as above for each field.
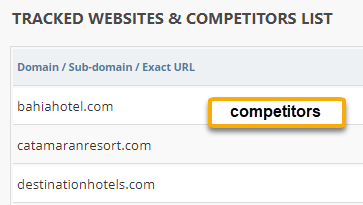
- competitors: enter competitor URLs separated by commas. These URLs must be in the same format as the primary_url, for example:
- if you are using the default or explicit domain count tracking mode, then enter only the domain name (e.g. example.com) and our rank tracker will report on all instances of example.com, www.example.com, http and https versions of the domain and all of it's folders and pages.
- if you are using exact url tracking mode, then enter an exact page URL only in this field.
Campaign > Websites screen
The competitors field data populates the Campaign Settings > Websites screen
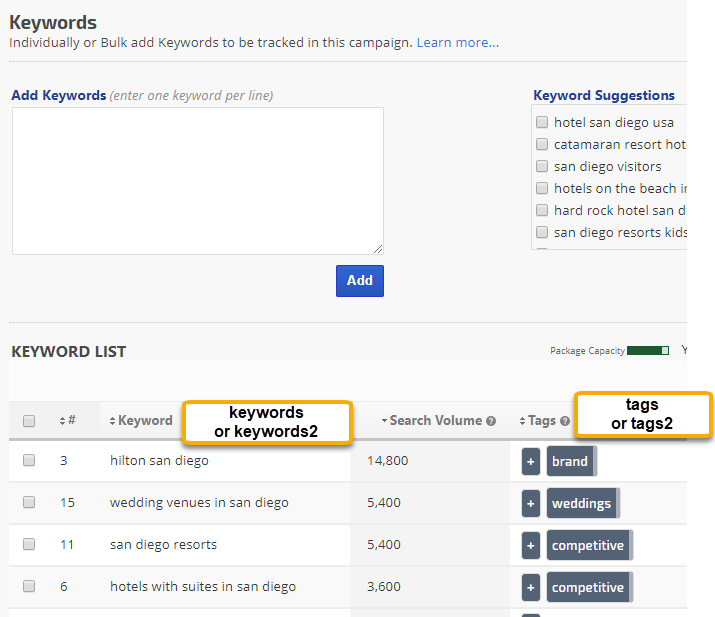
- keywords: enter keywords separated by commas and no spaces between them (e.g., apples,bananas,blueberries,cherries). There is a limit of 1,000 keywords per campaign. If you want to track several thousand keywords for a domain, we recommend creating multiple campaigns by separating the keywords into groups (e.g., dividing by product category, or business location).
- tags: if you want the keywords grouped together for selection in or filtering reports, you may enter a descriptive tag. If you enter multiple tags, separate them with a comma and no spaces between them.
You may separate keywords into multiple columns to create additional tag groupings using this column naming format (i.e., for 3 groups change the 2 to a 3):
- keywords2
- tags2
Campaign > Keywords settings screen
The above settings populate the Keywords screen
- white_label_password: option to import a password per campaign to be used for Client Dashboard login
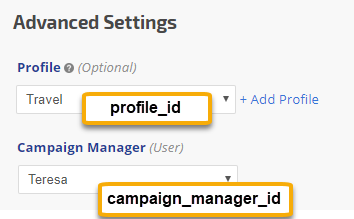
- profile_id: if you wish to associate a campaign with a profile, enter the profile ID in this field. Profiles must be created in advance of campaign import by following these instructions. You will find the profile ID number in the URL of the individual profile details screen, for example:
https://www.rankranger.com/?p=rank-profile&profile_id=60
- campaign_manager_id: if you want to assign a campaign manager to be imported with campaigns, you must first create the account users. Learn how to create account users and assign specific permission to each. You'll find each person's User ID number in the User Details screen.
Campaign > General Settings > Advanced Settings
When finished entering data
SAVE the file.
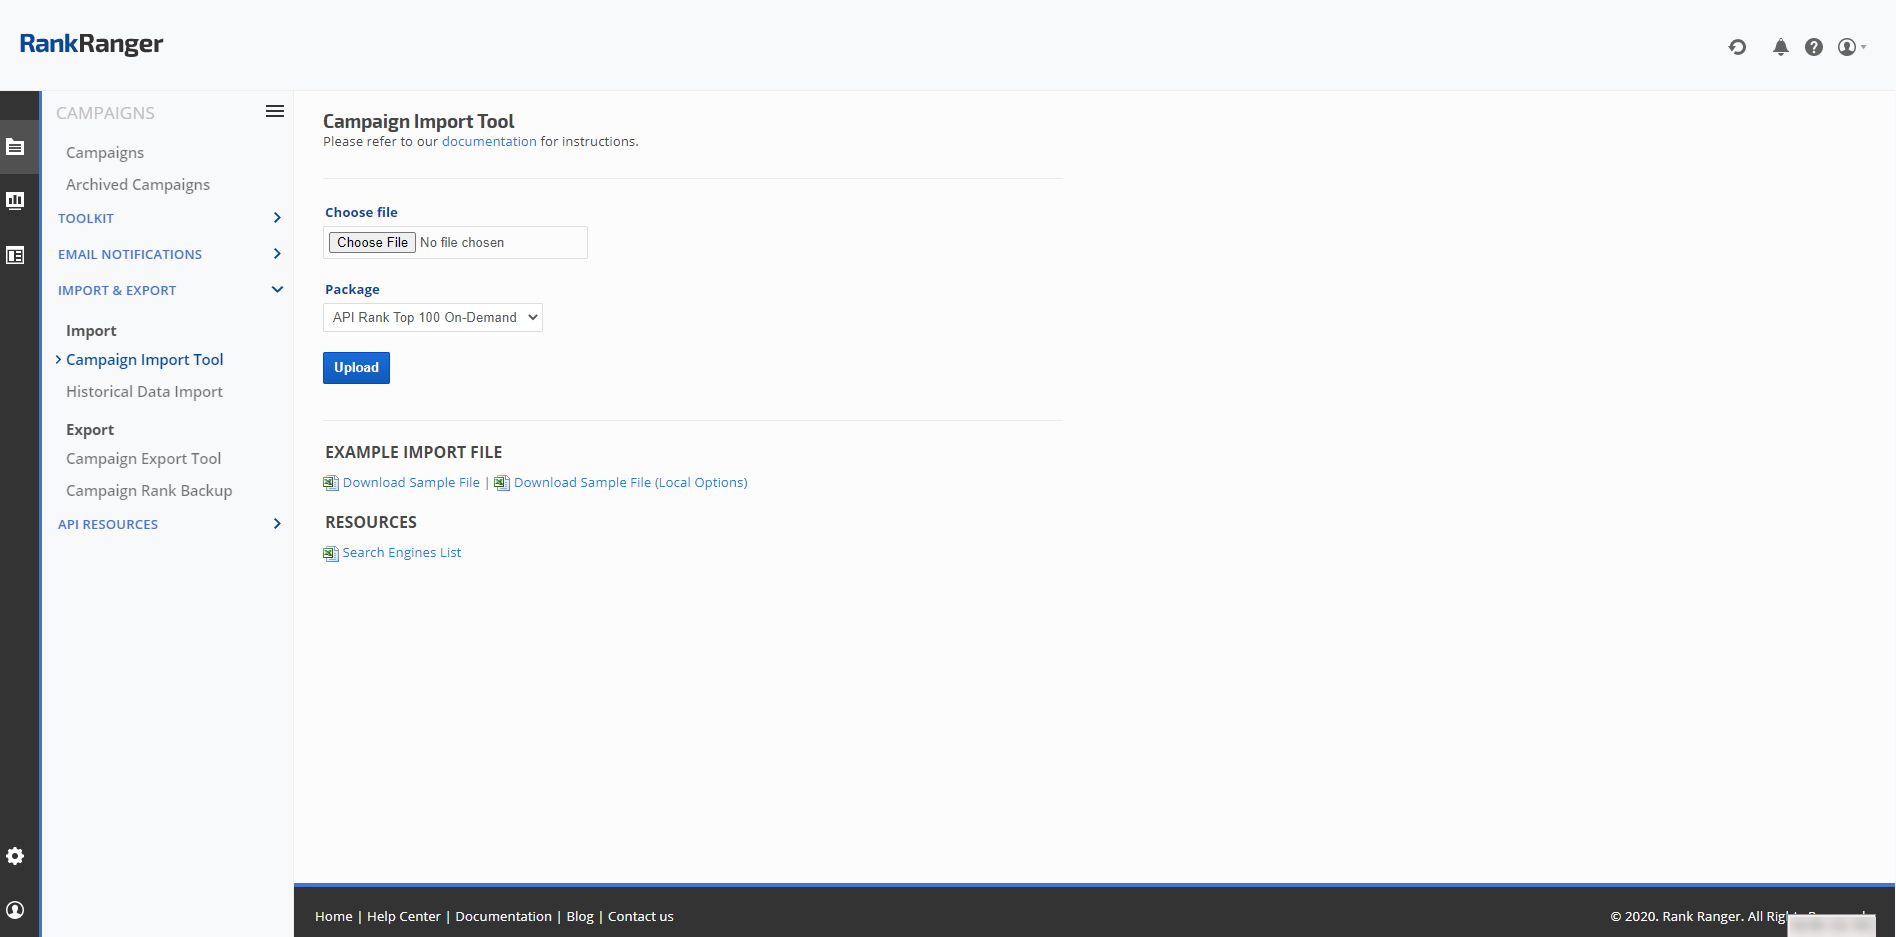
Select the Import File
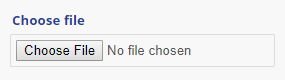
- Navigate to the Campaigns > Import & Export > Campaign Import Tool screen and click the Choose File button.
- Locate the import file and depending upon your software select the option to add the file.
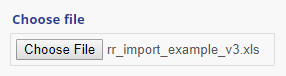
File has been selected correctly.
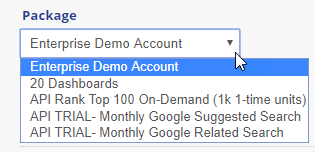
Select a Package
If your account contains more than one package, select the package that you want to import the campaigns into.
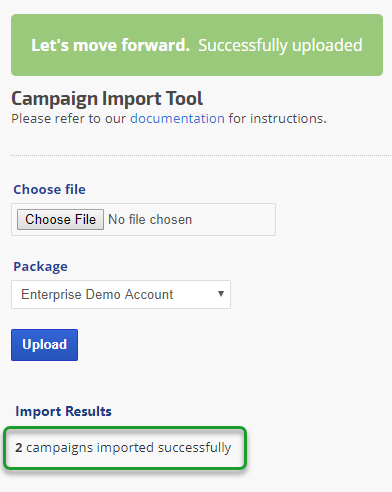
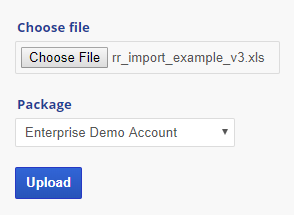
Upload
When the file and package have been chosen, click the
Upload button.
Successful Upload